

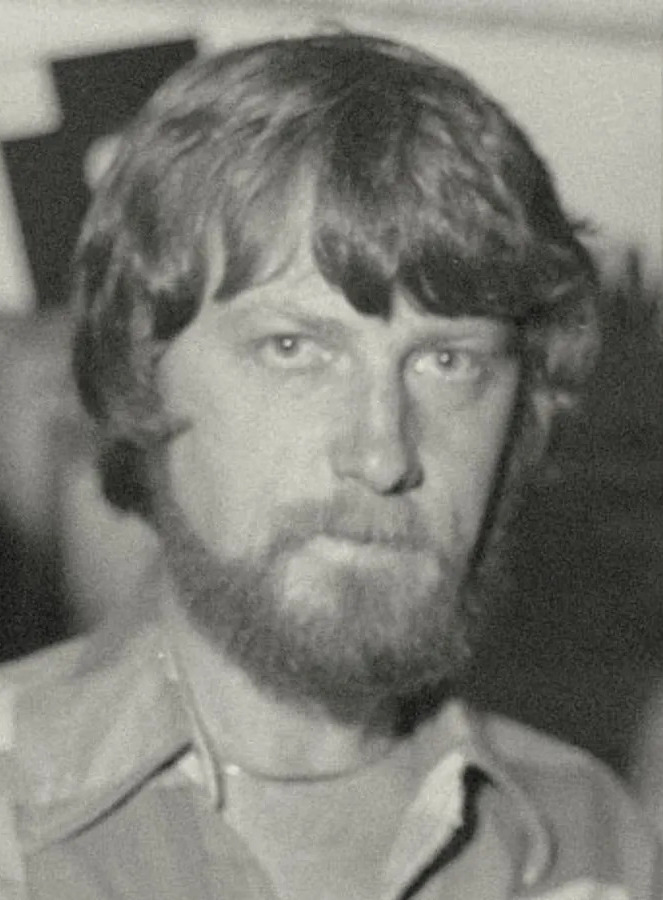
 Anyone old enough to remember shall recall the first computer operating system
known as CP/M. Released in 1974, it was the first operating system to run on the Intel 8080. The first prototype of cp/m was released by Gary Kidall, circa 1974 at Pacific Grove California. It became the only mainstream operating system of the era. Many of these machines ran via serial terminals. A central machine hosting cp/m would then connect to multiple hosts allowing simple file sharing using a simple serial terminal. In fact it was widely used in business environments, including some stock market applications, during the late 1970s and into the mid-1980s. Its flexibility and support for various hardware made it suitable for different computing needs in that era.
Anyone old enough to remember shall recall the first computer operating system
known as CP/M. Released in 1974, it was the first operating system to run on the Intel 8080. The first prototype of cp/m was released by Gary Kidall, circa 1974 at Pacific Grove California. It became the only mainstream operating system of the era. Many of these machines ran via serial terminals. A central machine hosting cp/m would then connect to multiple hosts allowing simple file sharing using a simple serial terminal. In fact it was widely used in business environments, including some stock market applications, during the late 1970s and into the mid-1980s. Its flexibility and support for various hardware made it suitable for different computing needs in that era.
Later guises of CP/M were later produced to run on the Zilog Z80 series of processors. At the time, it was the worlds most used operating system. In fact, Intel almost adopted CP/M for its operating system of choice to run on its Intel 8080 series of computers. Gary Kidall was offered a contract from Intel to supply CP/M for Intel and IBM, and then disaster struck. Gary, being a skiled pilot spent most of his time flying as his hobby and also between business meetings in his light aircraft. They telephoned his home where he ran his business venture. His wife told IBM they Gary would ring them back as he was out flying.
It was during this time that IBM were offered an early prototype of QDOS (quick and dirty Disk Operating System). Tim Patterson, the developer had stolen Gary's ideas he used in CP/M mainly the BDOS idea of system calls. QDOS, was later bought by Microsoft, and Bill Gates adopted QDOS (later called MSDOS) onto it's range of computers. Gary Kidall's CP/M was offered as a leading competitor onto IBM's 8080 range of computers, but the licencing was hugely more expensive than Microsoft's MSDOS. Slowly, CP/M was phased out in favour of MSDOS.
My first encouter of CP/M was seeing this wonderful operating system running on an Amstrad PCW 8256 as a young lad. I later dabled a bit with CP/M for the Sinclair Spectrum +3 and it got me curious. I then kinda not messed around with CP/M much, until I made a new friend through eBay whom later informed me of a new electronics project he was building. It was essentially a modern CP/M computer designed by Sergey Kiselev. I bought a spare PCB from him to work on the project and so out came the trusty soldering iron. This was the biggest electronics project I had taken on at the date, having only previous recapped older computers and game consoles.
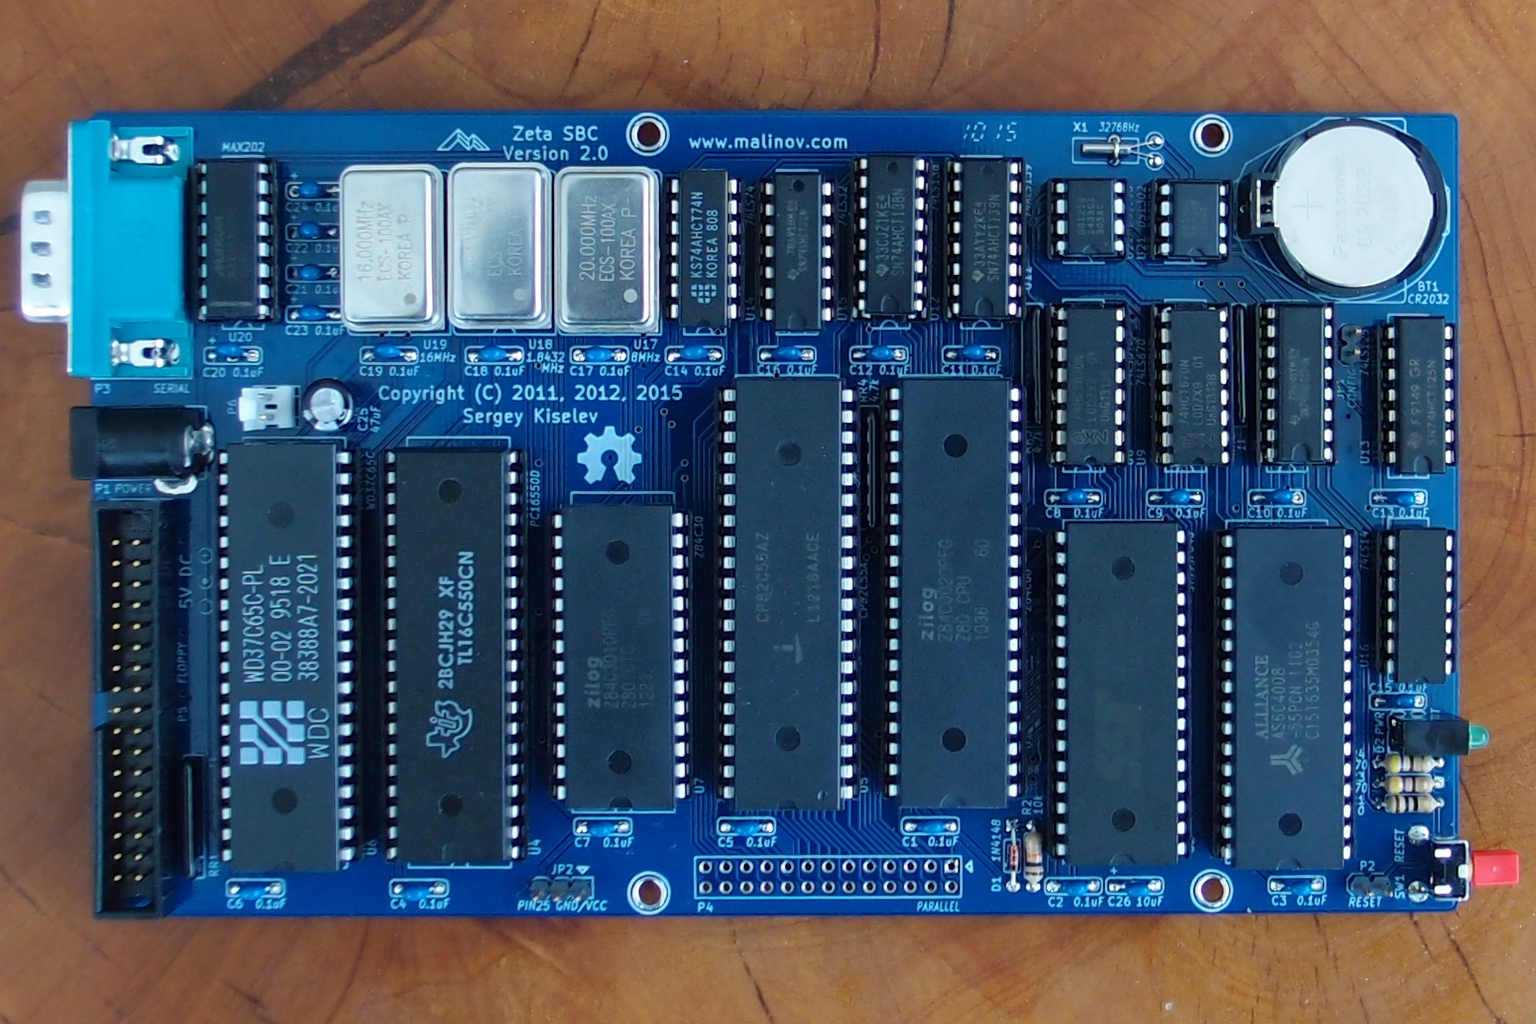 Sergey Kiselev's Zeta SBC v2 project I then discovered. It was at this stage that I begun constructing this computer from the resources found on Sergey's github repository. The project uses an 8 bit Zilog Z80 CPU, and Zilog CTC for bus timings, and dallas chip for a battery back clock. CPU timings are adjustable ; 4, 8 or 10mhz Zilog CPU can be fitted and clock speed set via the appropriately fitted crystal oscillator. The board features a whopping 512kb of RAM onboard, and uses the vintage Max 202 IC to supply power and RS232 communications over serial, although you will need a 9 pin serial adapter to cross the RX and TX lines which effectively provide a 'null modem' connection to the Zeta v2 board when connected to a PC over linux terminal software. The board relies on crystal oscillator's to set the bus frequency to ensure correct timings. Floppy disks are also supported when using either the WD37C65, SMC FDC37C65, or GoldStar GM82C765B ICs. My personal preference was to use the Western Digital WD37C65 IC for floppy support.
I began by soldering the resistors first of all, capacitors, IC sockets, and then connectors and any other components. Having looked at my hard work in soldering the board, I checked my work. Soldering's good, flux cleaned off the PCB. Lets connect her up; serial 8N1, 38400 serial baud, and powered her up... Nothing ! The Zeta v2 was dead, no display in the terminal. Then, disaster ! I spotted what I had done; I had put the four legged timing crystals around the wrong way. I didn't realise they had polarised markings on them. Ooops. This had blown a few of the ram chips. Also voltages on the Max 202 said their was no GND. The bad ground connection was because I didn't have the soldering iron hot enough as was soldering into a ground plane on the pcb. A friend of mine helped me diagose that problem. I tested the board again. Disaster number 2... the Z80 CTC had gone pop as the chip was red hot to the touch. I ordered another Z80 CTC which I popped into the IC socket, re-hooked up the board to serial and powered her up and bingo she sprang to life !
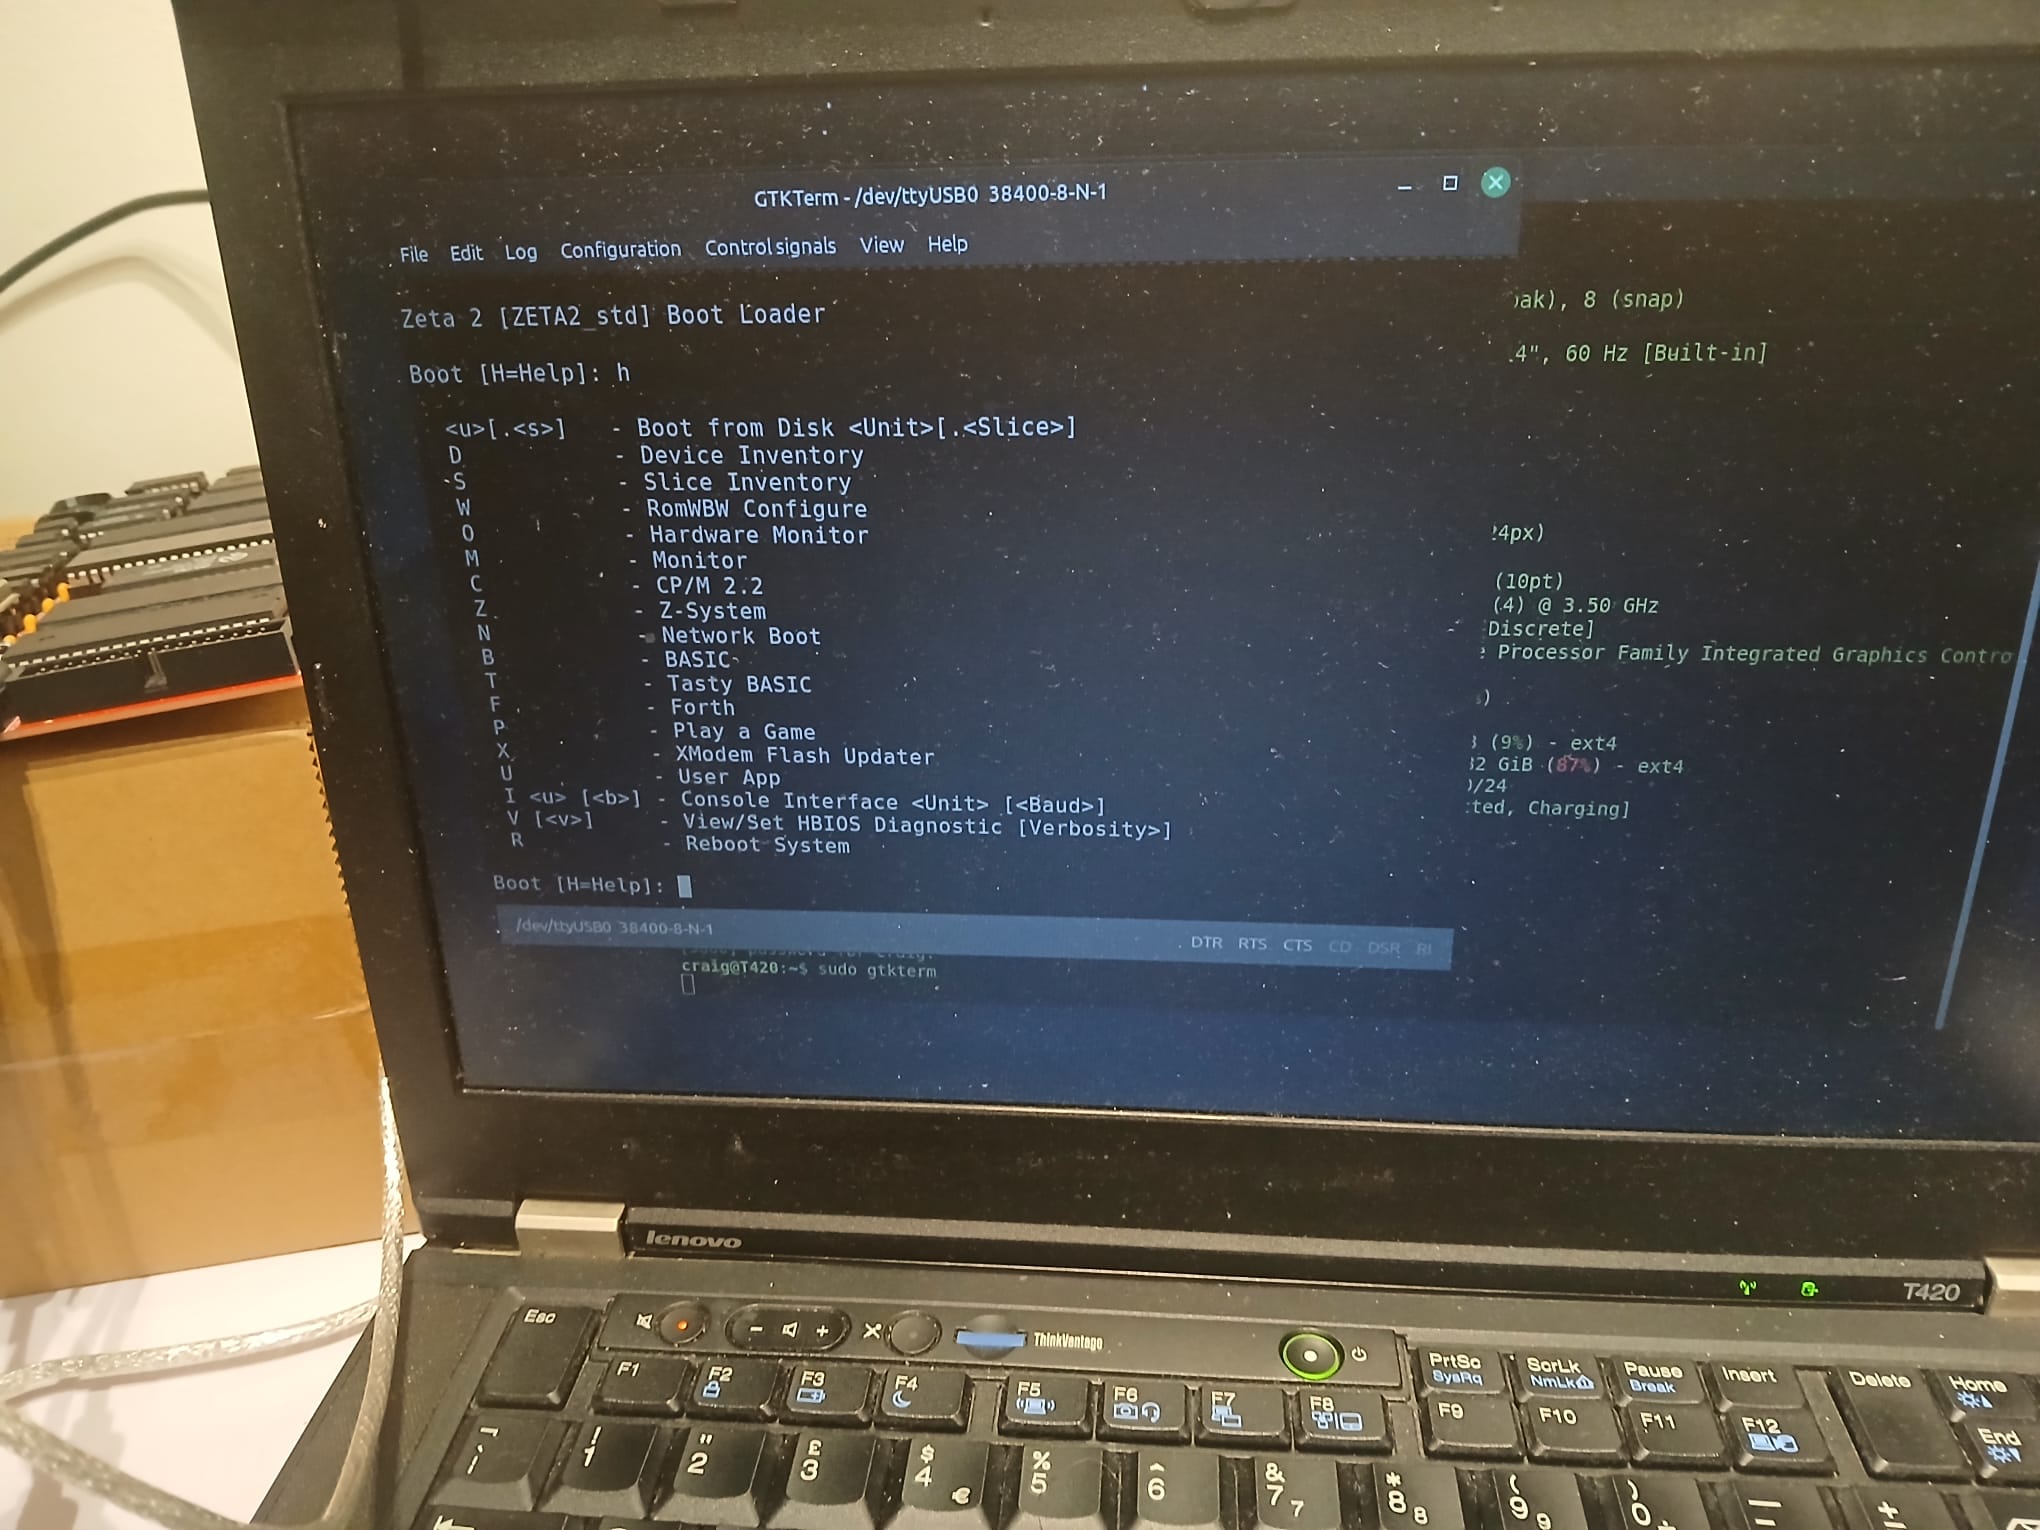 At that moment, I had a working Zeta v2 CP/M computer I had soldered and built from scratch.
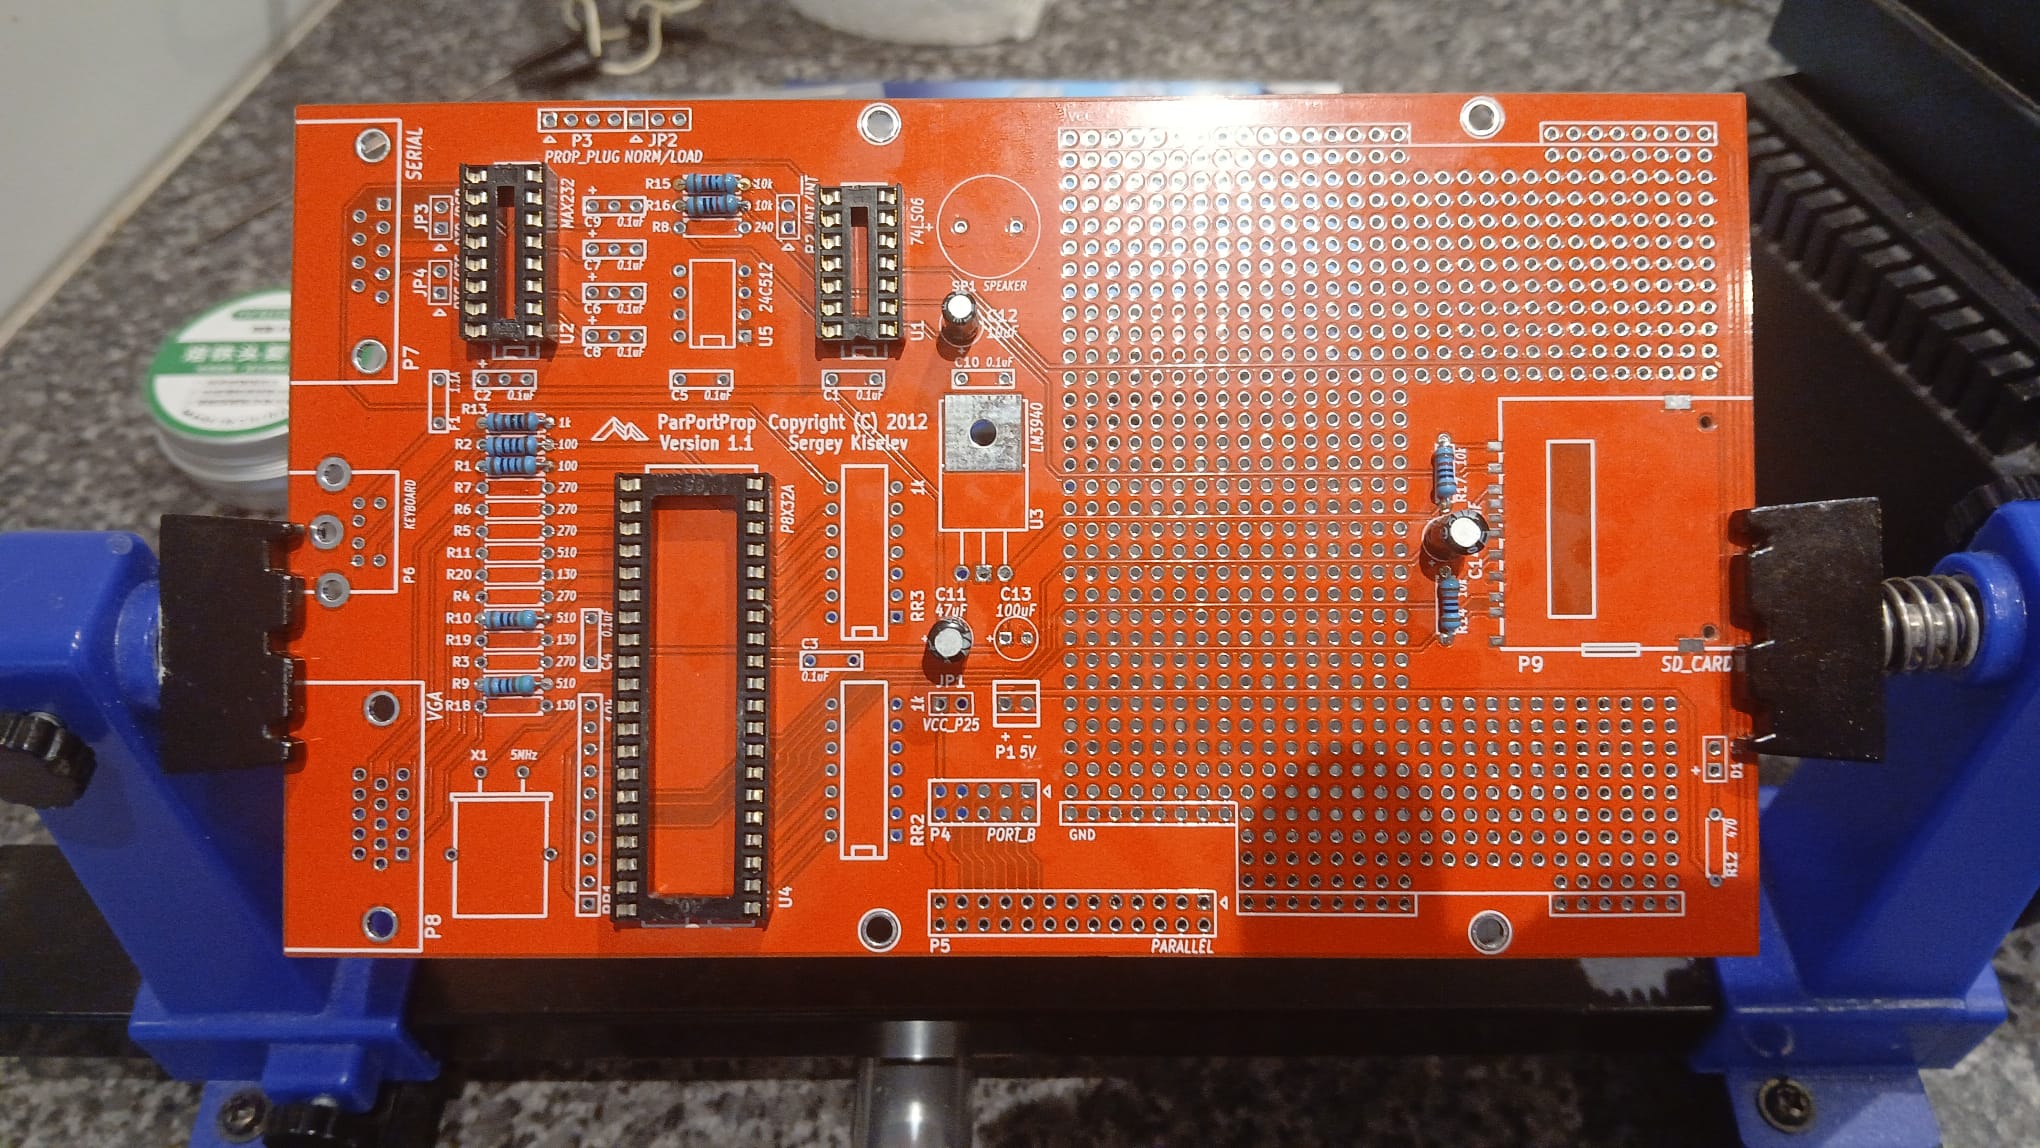 The project I used for a while, then life got in the way, and so I put the continuation of the work on hold. September 2026, I continued with the project and started soldering up the additional board known as the ParPortProp. This uses the Propeller chip which translates serial communications to a vga port, thus giving the conveince of being able to display the Zeta V2 display on a monitor, rather than needed a serial terminal to see the video output. ParPortProp also gives the addition of an old style PS2 keyboard connector that allows the connection of a PC vintage keyboard with the old style PS2 style connector. Of course, you could just use a PS2 to USB keyboard adapter with the ParPortProp which will allow you to connect a USB keyboard up to the Zeta v2's keyboard connector. In order for the ParPortProp to communicate with the Zeta v2 a 24c512 8 pin DIP package needs programming with the ParPortProp firmware. This can be done using serial connection to the Zeta or via T86 or T48 EPROM/EEPROM programmer.
The most challenging part of the build was surface mount solder the SD card connector onto the PCB. For this, I applied plenty of flux onto the pads then use some fine solder to tin the solder pads. Next, I positioned the SD card slot onto the PCB and gently heated the legs and solder tags on the SD card connector to solder it to the board. Both the Zeta v2 and ParPortProp utilize a parallel port interface that allows an SD card to be used as a hard disk, although limitations apply based on the filesystem of the max partition size. Floppy disk wise, it is possable to add either a real floppy disk drive or an emulated one. I chose to emulate a real floppy drive courtesy of a Gotek floppy drive emulator. You can then just add CP/M disk file images on a usb stick and insert it into the GOTEK. Overall, dispite some trials and tributlations and problems along the way with building the project. It has been enjoyable in both furthering my electronics knowledge and building a computer from scratch with just using a soldering iron and components. It's also nice running a vintage operating system ! It's amazing what an incredible job Sergey made on designing this project for hobbiest like myself, and a fitting tribute to the late Gary Kiddal who designed the CP/M operating back in 1974.
Links to the project: